Construction
& Operation
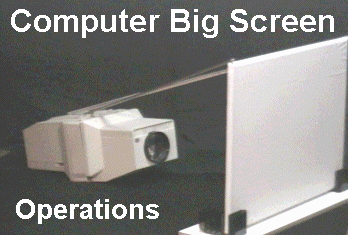
Using your Computer Big Screen requires
alittle permanent space or area set aside for the entire thing.
There has to be about 50"inches or 4 feet of area; from
end-to-end.
Be sure to turn off the power to your new projector before
moving it, or disconnecting. Take your time when it comes to
moving this thing, and try to wait a few minutes for it to cool
down before you move it or turn it back over for any reason.
Whatever you do; DO NOT screw anything to anything while
plugged-in! Be extra carefull when mounting things together,
and be sure that NO screws are touching a circuit borad or make
contact with anything other than wood or plastic.
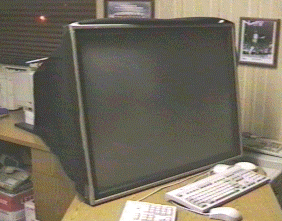
The trick to having a monitor work as a big screen; is
the fact that; it has to work up-side-down.
I have tried several VGA displays and monitors, and found that
the older line of IBM monitors (8513,8514...etc) work the best.
They weigh more than the others, but are built like tanks; and
seem to hold their color and sync just fine.
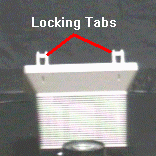 
Operating the VGA projector for more than a couple hours
will produce extreme heat to the 'under-side' (top) of the circuit
board inside the monitor. If you can...install a small cooling
fan (CPU Fan) or similar to the top-area or under-side of the
monitor to prevent longterm damage. If you have a desk-fan; then
use it by placing it directly behind or above the monitor now
upside-down (projector).
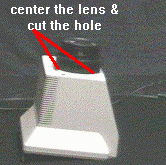 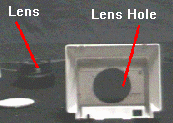
The lens casing (the non-working VGA cover) holds the lens
at the right angle and offers 'vents' to let the heat out from
the top. This part of the projector does not need a fan, and
must be kept clear at all times when on & operating. Be very
exact when cutting the lens hole... you may not get a second
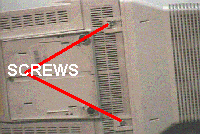
chance. Also, when mounting the two monitor cases together, try
to allow for servicing (lens cleaning, etc...) by using common
screws and not tightening too much.
The length of the I/O cable needs to reach your computer,
and can be increased by a VGA/Monitor Extention Cable if you
need it, but they can be rather expensive (about $40).
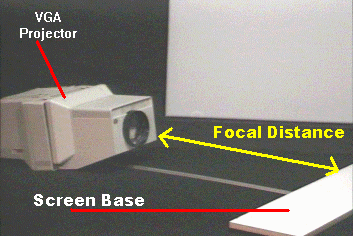
The "Focal Distance" has to be determined before
you begin on this project, and all distances should be written
down. The focal point can be had on most lenses by holding upto
a light source (ceiling light) while holding a peice of blank
paper in the other hand. My distance varied from (25" to
26.5") Try to get the distance between the lens and the
peice of paper steady while you messure the distance for the
focused image of the light on the paper. You should get an exact
image of the light, but much bigger on the peice of paper when
it's near or at the focal point.
Once you get the exact distance needed for your screen
position, you are ready to start on the construction of the big
screen. Using the 'ol shower curtain; you will need to turn-up
the 'brightness' and 'contrast' on the projector because the
shower liner will absorb about 1/8th to 1/3rd of the brightness
and intensity. (the fernell lens absorbs about 1/32th).
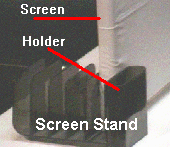
I used a pair of 'letter holders' to stablize the screen;
you might try 'napkin holders or something similar; they allowed
me to slide the screen back-and-forth (on the screen base; which
is a 1/2inch 4"x36"laminated wall shelf) a few inches
at a time, inorder to adjust focal point (depth). You have to
concider the focal depth to the projector; because, you are going
to be using a 'round' lens and a 'flat screen'. There will be
times when you might want the center of the screen sharp and
the edges dull, or maybe the edges sharp, but the center dull;
whatever you decide, you'll never get both at the same time unless
you can construct a curved or better yet, a "round screen".
The screen should be able to move slightly back & forth
to give you the best image possible. Mounting the trim beams
(moulding) to the screen should be concidered before you mount
them to the projector. If you just secure them to the screen
side, then let them move freely (an inch or two) on the other
end if possible.
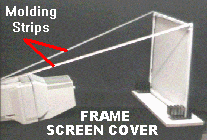 Once you have the projector in place and everything
is ready, cover it with some light (not heavy) dark sheets, and
turn it on.
|

